The story began in 1941, when the CHEMEX® Coffeemaker was invented by Dr. Peter Schlumbohm PhD to brew the PERFECT cup of coffee. Since that time, the CHEMEX has spanned generations and the globe as an icon of American design.
History and craft are embedded in their makeup. At the CHEMEX® factory located in Massachusetts, they still inspect, polish and hand-tie each coffeemaker and cut every filter - just as they always have.
Size Guide:
3 Cup Size
- Brews 1-3, 150ml cups (1-1.5 mugs)
- ~450ml in volume
- Uses 3-cup half-circle filters
6 Cup Size
- Brews 1-6, 150ml cups (1-3 mugs)
- ~900ml in volume
- Uses all Chemex filters except half-circle 3-cup version
Brewing guide:
Step 1: Get into the grind
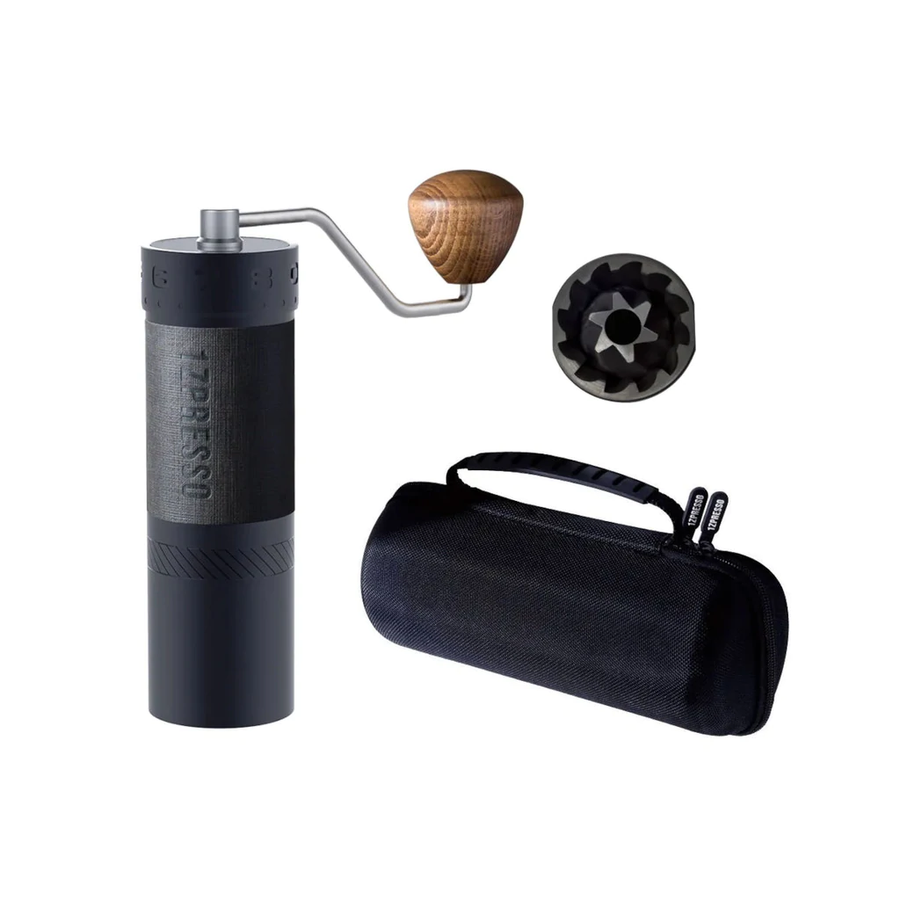
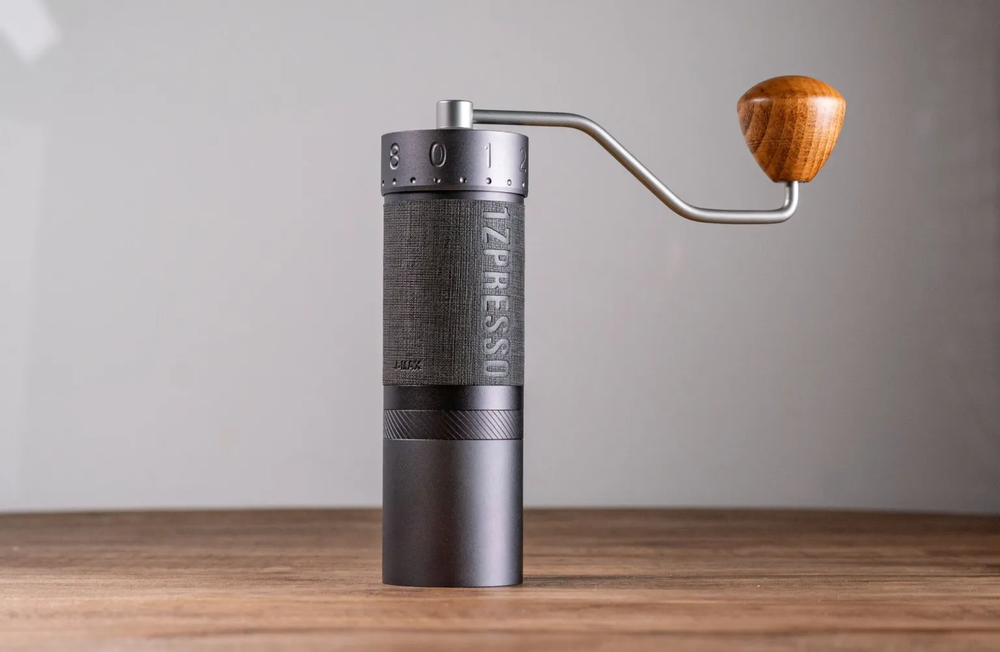
Select your favorite whole bean coffee you want to enjoy and grind it to medium coarse ground.
Step 2: Filter up
Open a CHEMEX® Bonded Coffee Filter into a cone shape so that one side of the cone has three layers, and place it into the top of the CHEMEX® brewer. The thick (three-layer) portion should cover the pouring spout.
Optional Tip: Dampen the filter with warm water to rinse and preheat the brewer. Once the water has drained through the filter completely, pour it out of the brewer while keeping the filter sealed against the coffeemaker wall.
Step 3: The scoop
Put 6gm of ground coffee for every 100ml of water into the filter cone. Feel free to use more if you prefer it stronger; the CHEMEX® brewing process eliminates bitterness.
Tip: On all brewers except the pint size model, the “button” indicates the carafe is half filled and the bottom of the wooden collar/spout indicates it's full. On the pint size brewer, the button is the full marker.
Step 4: Let it bloom
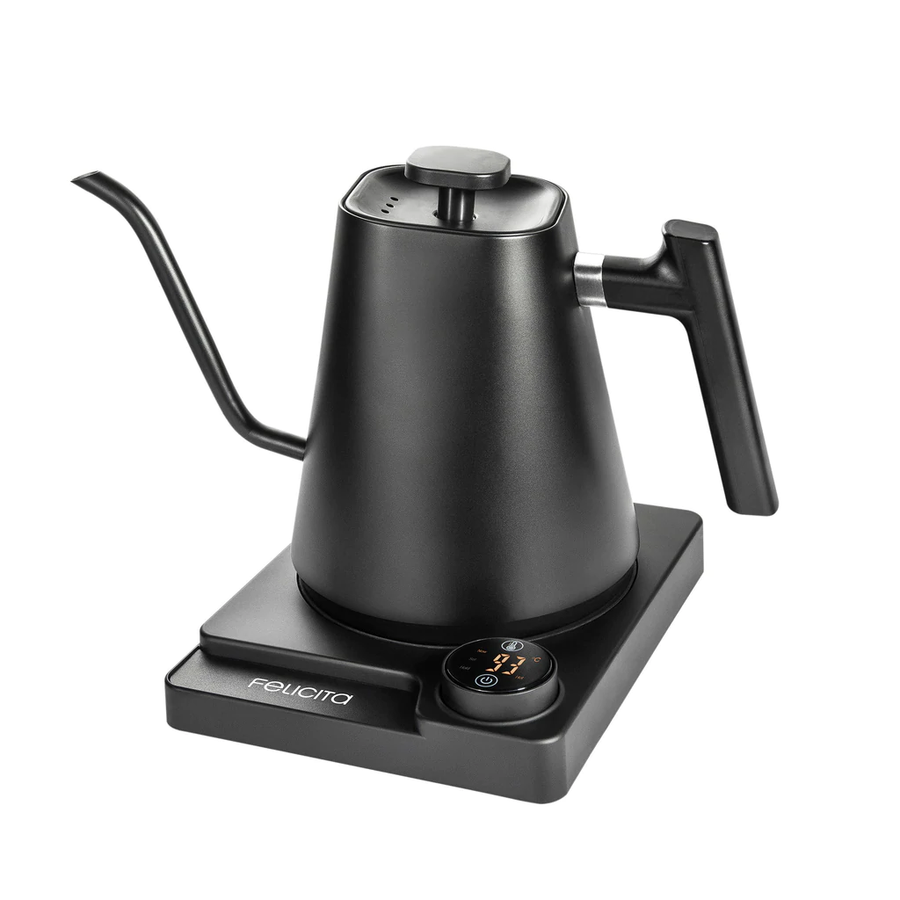
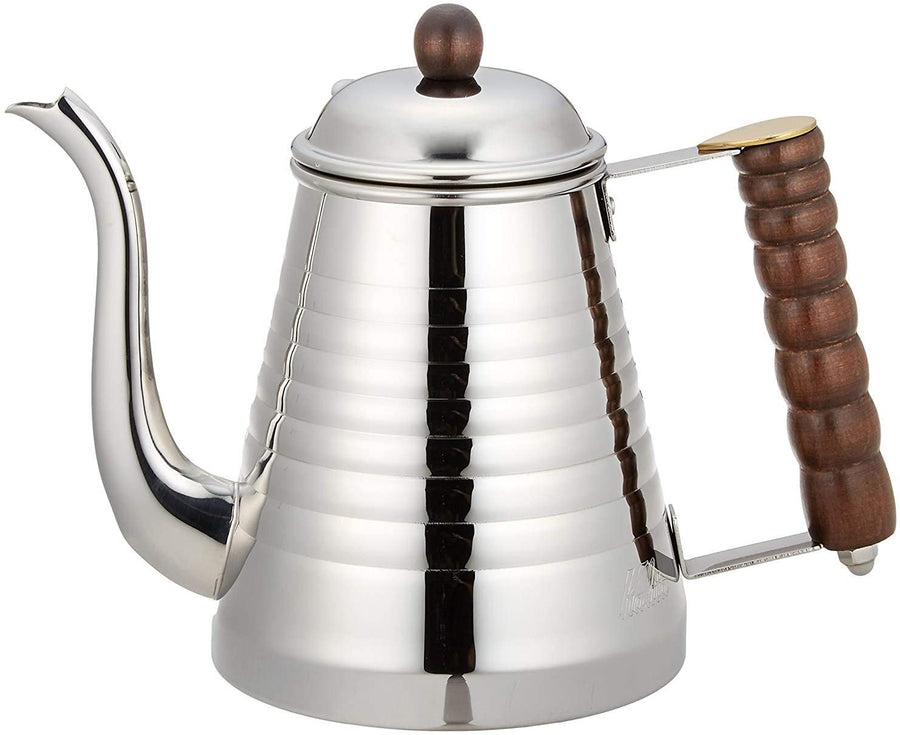
Once you have brought the appropriate amount of water to a boil, remove it from the heat and allow it to stop boiling vigorously. Pour a small amount of water over the coffee grounds to wet them, and wait for about 30 seconds for them to “bloom”, releasing the most desirable coffee elements from the grounds.
Optional Tip: Perfect brewing temperature is about 93°C.
Step 5: First pour
After the grounds bloom, slowly pour the brewing water over the grounds while keeping the water level well below the top of the CHEMEX® .
Step 6: Brew on
Slowly pour the remaining water over the grounds, using a circular or back-and-forth motion as you pour to ensure an even soaking of the grounds.
Step 7: Toss the filter
Once the desired amount of coffee is brewed, lift the filter with spent grounds out of the brewer and discard.
Step 8: Enjoy the perfect cup
Pour your freshly made coffee into your CHEMEX® mug and indulge in the flavor.
Stay warm
In order to keep your coffee warm you may place the CHEMEX® directly on either a glass stove top or gas flame both at low heat. If you have an electric coil stove top, you must utilize the CHEMEX® stainless steel wire grid (TKG) in between the CHEMEX® and the coils to prevent breakage. Be sure that there is a small amount of liquid in the carafe before placing it on a warm heating element.
Keep it clean
A carefully cleaned and handled CHEMEX® brewer will give you a lifetime of service. Remove the wooden handle and continue to hand wash with warm soap and water, or place the coffeemaker securely in the dishwasher.
Please note filters are not included, but can be purchased separately.
Hey, we get it, coffee equipment is not cheap! And paying the bills with coffee takes time. Use our payment options to ease up some cashflow!
We now offer you the following options:
1) Settle immediately with either YOCO or PayFlex
2) Shop on credit with Mobicred (via Peach Payments)
3) Use now, pay later with Payflex (via Peach Payments)
4) Use now, rent until you own with Buna Rent-to-own
5) Apply for financing through Buna Coffee (refer to this link)


